
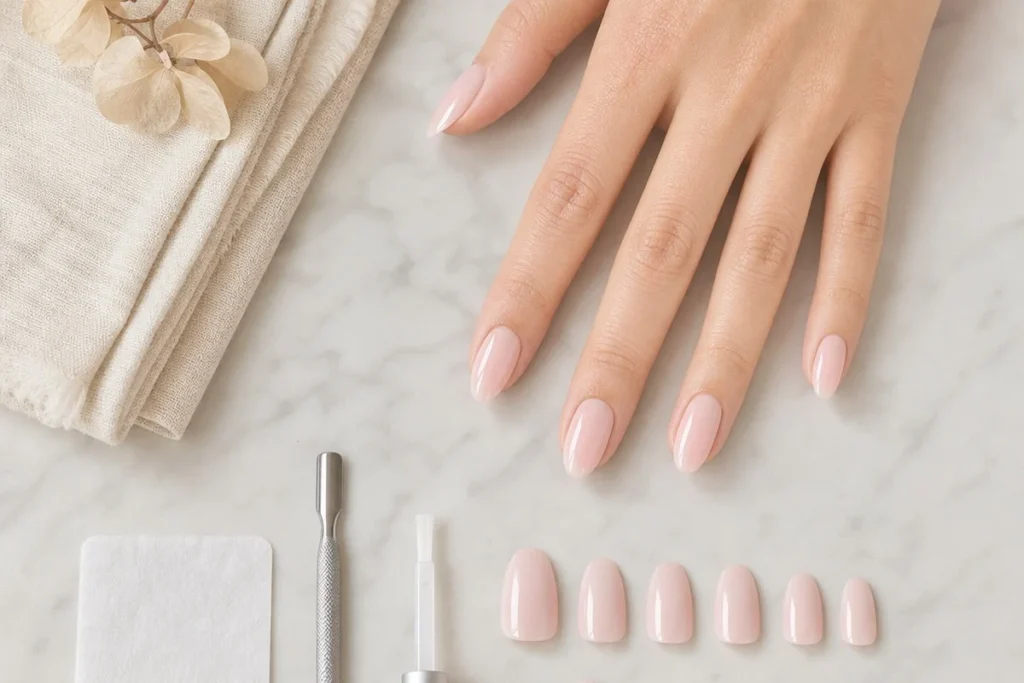
Removing press-on nails at home should never involve painful ripping, scraping, or damaged natural nail beds. Whether you love wearing custom handmade press-on nails in Ohio or anywhere else across the country, proper removal techniques ensure your natural nails remain strong and your reusable nail sets stay intact. Taking off your manicure correctly protects your natural nail plate from thinning, peeling, and cracking. This comprehensive guide walks you through the safest, step-by-step methods to take off press-on nails without causing damage, keeping your natural nails healthy and ready for your next beautiful set.
Why Proper Removal Matters for Your Natural Nails
Prying or ripping off press-on enhancements strips away the delicate top layers of your natural nail plate. Your natural nail consists of multiple layers of keratin, a fibrous protein that provides strength and flexibility. When you forcefully pull off an adhesive bond, you inevitably tear away those outer keratin layers along with it.
This mechanical damage leads to thin, brittle, and peeling nails that take months to grow out fully. Weakened nail beds are also significantly more prone to painful bending, splitting, and fungal or bacterial infections under the surface.
Taking the extra 15 to 20 minutes to soak off your nails gently preserves your natural nail integrity. Furthermore, gentle removal methods keep your high-quality reusable sets in excellent condition so you can wear them repeatedly without damaging the shape or design.
How to Determine Which Removal Method You Need
Before starting the removal process, you must know what kind of adhesive holds your set in place. Using the wrong technique or chemical can make removal unnecessarily tedious or unintentionally ruin reusable nails.
Nail Adhesive Tabs vs. Liquid Nail Glue
Adhesive tabs are pre-cut double-sided sticky pads designed for short-term wear, usually lasting anywhere from one to three days. Liquid nail glue forms a much stronger polymer bond that keeps nails attached securely for up to two weeks.
Adhesive tabs dissolve and release easily with warm water and oil, making them ideal for quick wear and effortless cleanup. Liquid nail glue requires a bit more patience and oil penetration, or acetone if the press-ons are not intended for reuse.
+-------------------+--------------------+----------------------+-------------------------+
|   Adhesive Type   | Typical Wear Time  | Recommended Removal  | Are Nails Reusable?     |
+-------------------+--------------------+----------------------+-------------------------+
| Adhesive Tabs     | 1 - 3 Days         | Warm Water & Oil     | Yes, easily             |
| Liquid Nail Glue  | 1 - 2+ Weeks       | Warm Oil Soak        | Yes, with care          |
| Liquid Glue (Fast)| 1 - 2+ Weeks       | Pure Acetone Soak    | No (Acetone melts set)  |
+-------------------+--------------------+----------------------+-------------------------+
As outlined in the chart above, your choice between warm oil soaking and acetone depends entirely on whether you want to preserve your press-on set for future use.
Method 1: The Warm Soapy Oil Soak (Best for Preserving Nails)
The warm soapy oil method is the safest, most effective technique for removing Press-On Nails without causing damage to your natural nail plate or the artificial nails themselves.
Tools You Will Need
- A small bowl filled with warm water (not boiling)
- 1–2 teaspoons of gentle liquid hand soap or dish soap
- 1 tablespoon of cuticle oil, jojoba oil, olive oil, or coconut oil
- A cuticle pusher or wooden cuticle stick
- A soft buffer block
Step 1: Prepare the Soaking Solution
Fill a shallow bowl with warm water. Add a generous squirt of liquid hand soap and a tablespoon of your preferred oil. Jojoba oil works exceptionally well because its small molecular structure penetrates tiny crevices around the nail edges quickly. Stir the mixture gently until the soap and oil are blended.
Step 2: Soak Your Fingers
Submerge your fingertips completely in the warm solution. Allow your hands to soak undisturbed for 10 to 15 minutes. The combination of warm water and soap softens the adhesive, while the oil breaks down the sticky bonds beneath the false nail.
Step 3: Check for Loose Edges
After soaking, take your hands out of the bowl and test the flexibility of the nails. Gently push against the side of each press-on with your thumb. If the nail yields easily, it is ready to be lifted. If it still feels completely rigid, return your hands to the warm bath for another 5 to 10 minutes. Never force a stubborn nail.
Step 4: Gently Lift and Release
Take an orange wood cuticle stick and slide the flat, slanted end under the edge of the press-on near your cuticle. Apply very gentle upward pressure. The nail should pop off cleanly. If you feel resistance, apply a drop of cuticle oil directly into the gap and allow it to sit for a minute before trying again.
Method 2: The Acetone Soak (For Non-Reusable Sets)
If you used strong commercial nail glue and do not plan on wearing the press-on set again, acetone offers a rapid removal process.
Important Warning About Acetone
Pure acetone dissolves acrylic, gel, and ABS plastic materials. This means it will melt the press-on nails completely, turning them into a soft residue that wipes away. Do not use this method if you wish to keep your press-ons for future applications.
Step 1: Trim and Prep
Use nail clippers to trim the length of the artificial nails down as close to your natural nail tips as possible. Filing off the shiny top gel layer with a coarse buffer also speeds up the chemical process.
Step 2: Apply Oil to Protect Skin
Acetone strips moisture rapidly from skin and natural nails. Massage a thick layer of cuticle oil or petroleum jelly over your cuticles and the surrounding skin to create a protective barrier.
Step 3: Soak and Wipe Away
Pour 100% pure acetone into a glass bowl. Soak your fingertips in the liquid for 10 to 15 minutes. As the plastic softens, use a paper towel or wooden stick to scrape away the dissolved material gently until your natural nails are clear.
Critical Mistakes to Avoid During Removal
Even with the right supplies, simple mistakes can cause unnecessary damage to your natural nails.
1. Ripping Nails Off When Tight
Pulling a tight press-on off your nail bed can rip away surface layers of keratin, leaving white patches and soft, painful spots. Always soak longer rather than using force.
2. Using Metal Tools Improperly
Metal cuticle pushers can gouge natural nail beds if used aggressively. Stick to flexible wooden orange sticks whenever possible, and hold the stick at a low angle relative to your nail.
3. Skipping Post-Removal Care
Leaving glue residue on your natural nails or neglecting hydration after removal leaves nails vulnerable to snapping and peeling.
Post-Removal Care: Restoring Your Natural Nails
Once your press-on enhancements are off, spending five minutes on natural nail maintenance will keep your nail beds resilient, hydrated, and ready for your next manicure.
Cleaning Away Remaining Adhesive
If residual glue remains stuck to your natural nails after soaking, do not scrape it off dry. Instead, buff the surface lightly using a fine-grit buffer block (240 grit or higher). Alternatively, saturate a cotton pad with warm water and oil or rubbing alcohol to rub away the softened glue bits cleanly.
Restoring Hydration and Moisture
Both soap and acetone temporarily strip natural oils from your skin and nail plate. Massage cuticle oil directly onto your cuticles, sidewalls, and nail beds for two minutes. Follow with a rich hand cream to lock in moisture.
Giving Your Nails a Breather
While high-quality Press-On Nails do not damage nail beds when applied and removed correctly, giving your hands a short 24-hour break between sets allows your cuticles to rehydrate naturally.
Conclusion
Removing press-on nails safely without damaging your natural nails requires patience, warm water, soap, and nourishing oils. By taking the time to soften the adhesive properly rather than forcing or scraping the enhancements off, you protect your natural keratin layers and keep your favorite reusable sets ready for future wear. Incorporate proper post-removal hydration into your regular routine to maintain strong, resilient nail beds every time you transition between beautiful styles.
Frequently Asked Questions
Can I remove glued press-on nails without using acetone?
Yes. You can safely remove glued press-on nails without acetone by soaking your hands in a bowl of warm water mixed with liquid soap and cuticle oil or olive oil for 15 to 20 minutes. The oil and warm water soften the glue bond without damaging the natural nail or melting reusable artificial nails.
How long does it take to soak off press-on nails safely?
Safe removal usually takes between 10 to 20 minutes of continuous soaking. If the adhesive was applied recently or with heavy glue, it may take slightly longer for the oil and warm water solution to penetrate beneath the artificial nail.
Does boiling water help remove press-on nails faster?
No. You should never use boiling water on your skin or nails. Hot water can cause severe skin burns and warp artificial nails. Always use comfortably warm water that feels soothing to touch.
What should I do if my press-on nail will not budge after soaking?
If a nail resists removal, do not force or pull it off. Submerge your hands back into the warm soapy oil bath for another 5 to 10 minutes, or apply a drop of cuticle oil directly under the loose edge of the press-on nail to loosen the adhesive further.
How do I remove leftover nail glue from my natural nails?
To remove sticky glue residue, soak a cotton ball in warm soapy water or gentle rubbing alcohol and rub the nail surface. You can also buff the surface lightly using a soft, fine-grit buffer block, followed by an application of cuticle oil.